

Ford Talladega and Dodge Daytona on Race Track again!

 When you are sitting back with your buddies bench racing what is it you most want to do with your car? For some of us it is seeing our pride and joy featured in a major magazine and for others it is making a high speed pass on one of NASCAR’s big speedways. For a very few of us we get the once in a lifetime opportunity to get a picture of our car in a magazine or take a pace lap around a race track. But for others they get to realize both dreams in one day, all day!

Our friend Marty Burke in Texas recently sent us photos of his day at the track. Not just any track but Texas Motor Speedway. What was he doing there? Shooting a feature article for Motor Trend Classic magazine! Oh, and it wasn’t just one of his cars but two! He even had to call in a friend to help drive the other car.

Starting at 6:15AM and lasting until 3PM there was non-stop shooting for an upcoming story in Motor Trend Classic Magazine. Here are some photos that a friend of his took as the magazine was shooting some static poses. Marty tells us they spent a few hours in the morning taking motion shots at the track of the four cars bunched together doing laps. And yes, they had the entire track to themselves allowing runs at 100+.

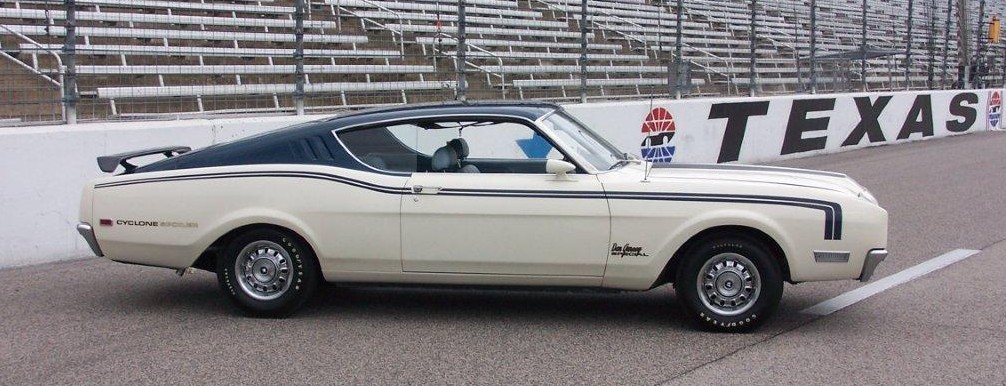
Marty provided, and drove his maroon Talladega and his Dan Gurney Spoiler II which was driven by his “hired gun”, Ken Woodall. The Dodge Daytona came from Houston while the Blue Superbird came out of Dallas.

What a great group of cars and how much fun it must have been! I only have one question for Marty and Motor Trend Classic Magazine; all of the aero cars were there but two. The Dodge Charger 500 was missing as was the Cale Yarborough Spoiler II. I guess they will just have to redo the shoot and invite the rest of us to show up with our cars. Can you imagine a photo shoot at Daytona with 43 aero cars on the track posed for action!


Great shots! I suddenly feel very jealous of Marty…
Congrats!